The door opens but will not close
This is one of the most common signs of an interrupted or unconfirmed safety-sensor signal.

Start with safe, visible checks when a garage door will open but refuses to close, reverses unexpectedly or shows a flashing opener light.
The safety sensors sit near the bottom of the garage-door opening and send a beam across the doorway. Dirt, an obstruction, a bumped bracket, damaged low-voltage wiring or a failed sensor can interrupt that signal.
Stop troubleshooting when the door is crooked, off track, unusually heavy or affected by damaged springs, cables or brackets.
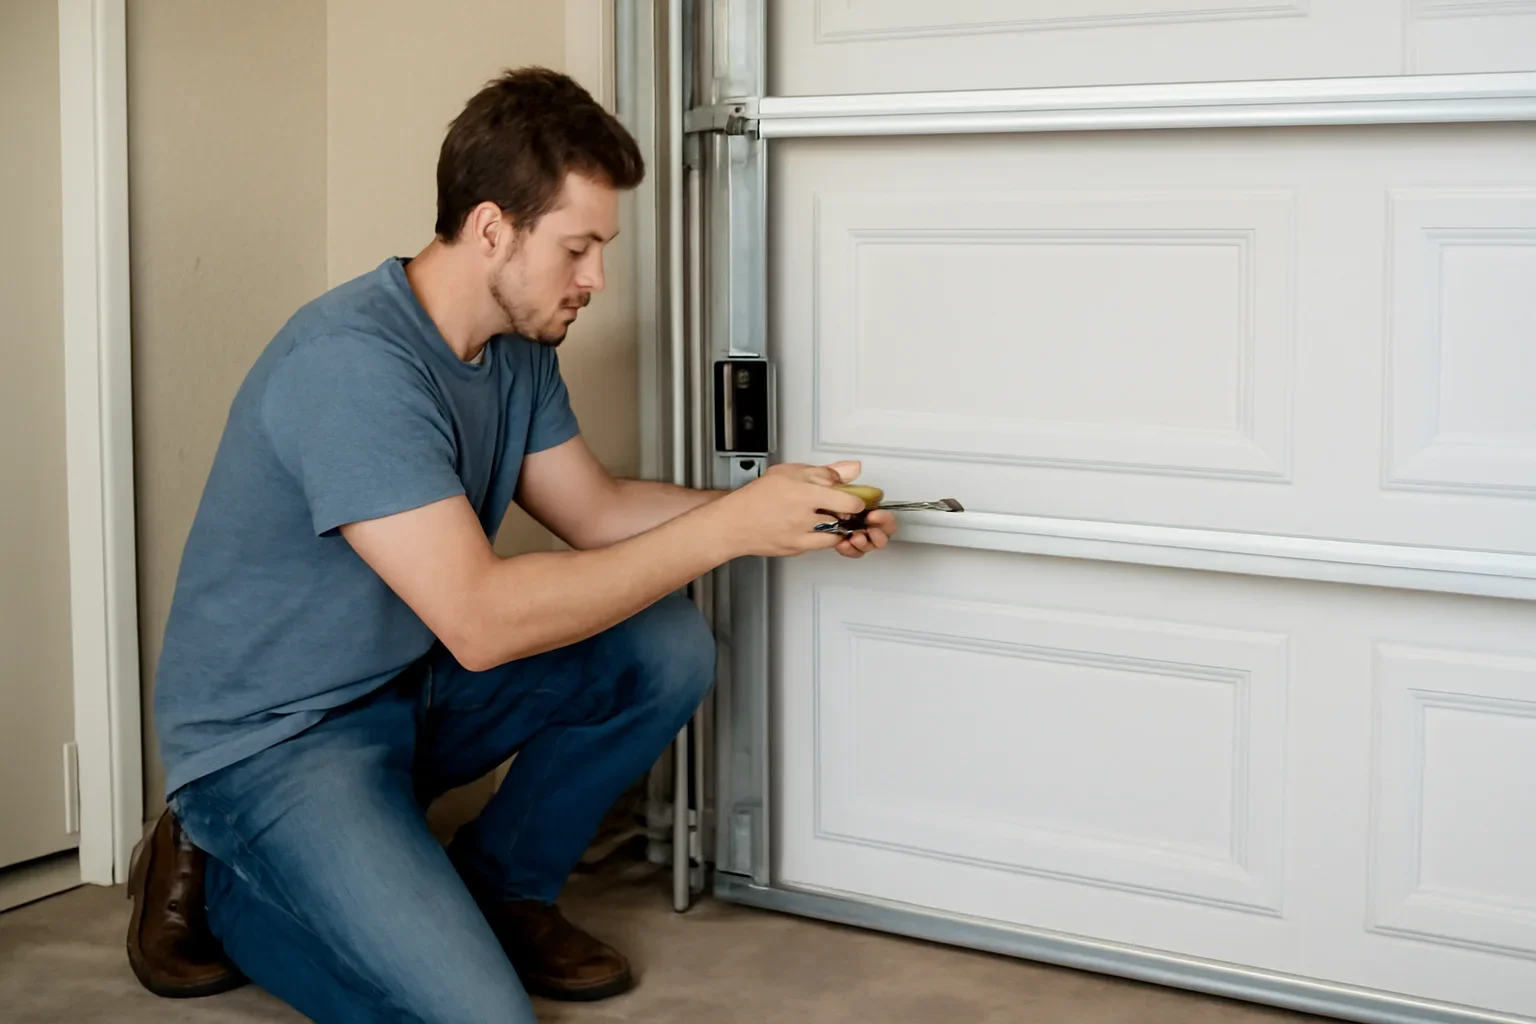
The photo-eye system is designed to help prevent the door from closing when something is in its path. Do not tape the sensors together, aim them away from the opening, disconnect them or make another change intended to defeat the reversing system.
These symptoms can point toward the photo eyes, but the exact cause may also involve wiring, opener controls, settings or resistance within the garage door.
This is one of the most common signs of an interrupted or unconfirmed safety-sensor signal.
The beam may be interrupted, but travel settings, an obstruction or mechanical resistance can create a similar symptom.
A dark or unstable indicator may point to alignment, power, wiring or sensor problems, depending on the opener model.
Some opener models use the main light or diagnostic indicators to report a sensor or control-system condition.
Changing sunlight, moisture, stored items or a bracket that moves slightly may create an intermittent issue.
A loose bracket, damaged track, unstable wiring or failing sensor may prevent the alignment from remaining consistent.
Work through these checks in order. Stop when the next step would require electrical repair, dismantling hardware or working around an unstable garage door.
Move vehicles, people, pets, tools, storage bins and other items away from the door path. Look across the full opening at sensor height for anything interrupting the beam.
Thin objects such as a broom handle, cord, hose or hanging material can be easy to overlook.Gently wipe the front of each photo eye with a clean, soft cloth. Remove dust, cobwebs, dried water spots and surface debris without twisting or pulling the sensor.
Do not spray cleaner directly into the sensor housing or soak the electrical components.View both units from a safe position. They should be mounted at similar heights and aimed across the opening rather than toward the floor, wall or driveway.
A sensor can be bumped by storage, bicycles, garbage bins, vehicle tires or cleaning equipment.Many systems show a steady light when each sensor is powered and the beam is aligned. A dark, dim, flickering or flashing light may help narrow down the problem.
Light colours and diagnostic meanings vary by brand and model, so do not rely on colour alone.From a safe position, look for a loose connection, crushed section, pulled staple, exposed conductor, corrosion or obvious cut along the visible sensor wire.
Do not open the motor housing or attempt uncertain wiring repairs. Damaged wiring should be assessed properly.Look for a bent, loose, cracked or vibrating bracket. The sensor should remain in position rather than moving each time the door or nearby track vibrates.
Do not loosen track bolts, bottom brackets, cables or spring hardware while checking a sensor mount.Once the opening is clear and both sensors appear clean and aligned, operate the door normally while remaining clear of the moving sections.
Stop testing if the door shakes, binds, becomes crooked or moves unpredictably.The exact indicator pattern depends on the opener. These general observations help describe the issue before model-specific guidance is reviewed.
Steady indicators commonly suggest that both units have power and can see one another. A closing problem may then involve settings, controls or the door itself.
Recheck the lens, sensor direction, bracket and visible wiring. A failed sensor is also possible.
The problem may involve opener power, disconnected wiring, damaged conductors, incorrect connections or failed components.
Counted flashes, arrow codes, LED colours and control-panel messages are not universal. Photograph the opener model label and diagnostic behaviour before requesting model-specific support.
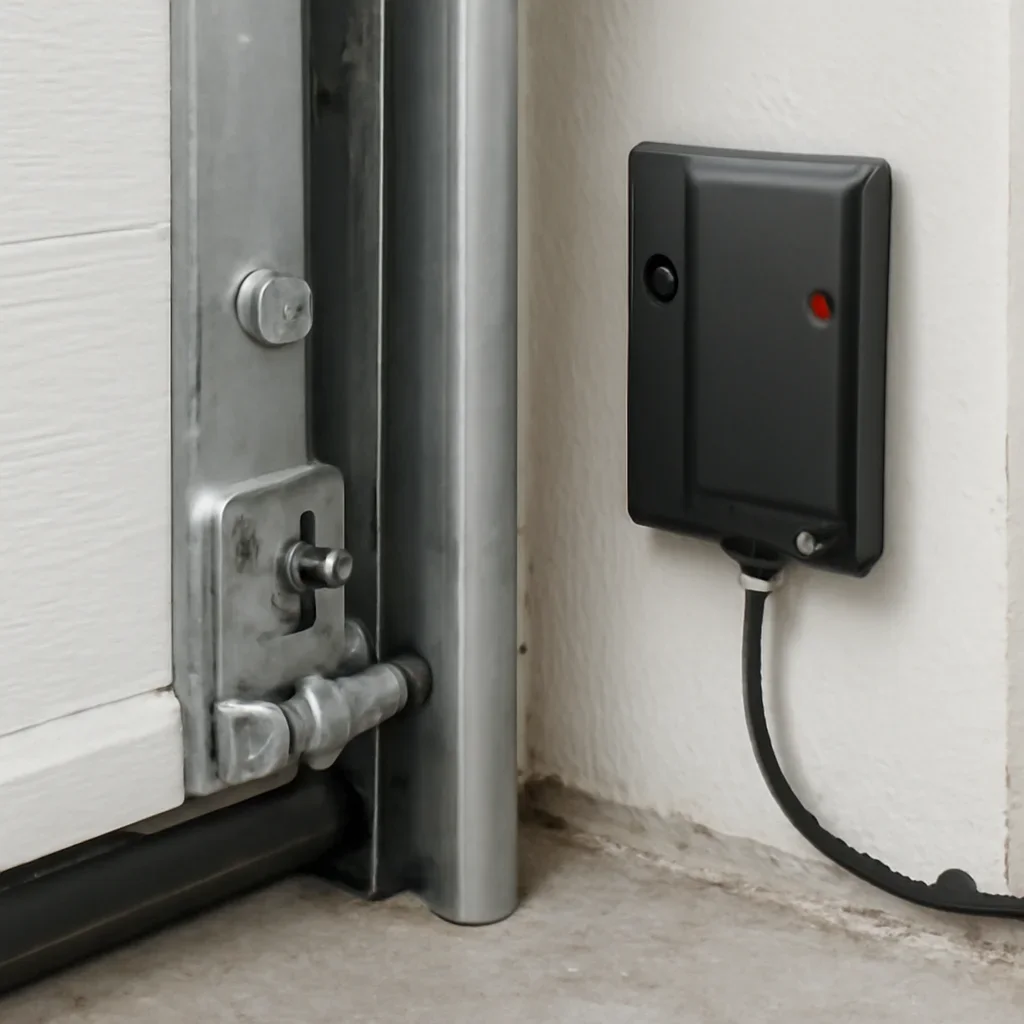
The basic sensor system works the same across Langley, but garage layout, moisture, storage and daily traffic can affect how often the photo eyes are blocked or knocked out of position.
Professional assessment makes sense when the fault involves wiring, damaged hardware, recurring alignment or unclear interaction between the sensors, opener and garage door.
Book service when visible conductors are cut, crushed, corroded, repeatedly disconnecting or affected by an uncertain previous repair.
Cracked housings, water entry, corrosion or impact damage may require compatible replacement components.
A loose, bent or vibrating mount can cause the beam to fail again after a temporary adjustment.
Opener power, terminals, wiring continuity or the sensor pair may need further diagnosis.
Travel settings, force behaviour, track resistance, rollers, door balance or another opener fault may be responsible.
Repeated misalignment often points to an unstable bracket, track movement, wiring fault or component beginning to fail.
Include the Langley location, opener brand and model, photos of both sensors, indicator-light behaviour, visible wiring and a short description of what happens when the door tries to close.
A garage door that will not close is not always caused by the photo eyes. The following signs suggest that another system may also need attention.
Use these pages to separate sensor trouble from a wider opener, mechanical or door-movement problem.
Review power, controls, manual release, opener response and possible mechanical causes when the door will not rise.
Read the opening guideCompare sensor issues with travel settings, obstructions, track resistance and other closing problems.
Read the closing guideReturn to the main sensor support URL for this troubleshooting resource and future reference.
Review the sensor guideUse the repair page when the issue may involve tracks, rollers, springs, cables, hinges or overall door balance.
Review garage door repairReview opener service when sensors appear aligned but controls, settings, the motor unit or diagnostic system remain unreliable.
Review opener repairUse the urgent service path when a vehicle is trapped, the opening cannot be secured or the door is unstable.
Review same-day serviceBrowse additional guidance covering garage door controls, operation, common symptoms and ownership questions.
Browse the support hubThese answers cover indicator lights, cleaning, alignment, sunlight, replacement and when to stop troubleshooting.
Make sure the doorway and beam path are completely clear. Then clean both lenses and check whether the sensors face one another with steady indicator lights.
The safety-sensor beam may be blocked, misaligned or unconfirmed. Wiring, opener settings, controls or resistance within the garage door can also cause closing problems.
Many systems show steady indicators when the sensor pair has power and is aligned. Exact colours and behaviour vary by brand and model, so check the opener documentation for model-specific meaning.
Yes. Dust, cobwebs, water spots or debris on a lens can interfere with the sensor beam. Clean the lenses gently with a soft, dry cloth.
Strong direct light can coincide with intermittent sensor trouble on some systems. Note the time and direction of the sunlight, but do not cover or disable a sensor as a workaround.
Compatibility depends on the opener model and sensor system. Some replacement kits use a matched pair, so identify the opener before purchasing parts.
Stop when the wiring is damaged, the sensor housing is cracked, the bracket will not stay aligned, indicator lights remain off or the door is crooked, heavy, off track or mechanically unstable.
Send the opener brand and model, photos of both photo eyes, the indicator-light pattern, visible wiring, the current door position and a description of what happens during closing.
Share the opener model, sensor-light behaviour, visible wiring and what happens when the door tries to close. The information helps separate alignment, wiring, sensor, opener and mechanical-door problems.