Identify the opener
Record the manufacturer, full model number and approximate age from the exterior product label.
Most modern garage door controls are paired through a Learn, Program or Set button on the opener or wall control. The exact sequence depends on the opener brand, model, control type and wireless generation.
This guide explains how to prepare, identify the correct programming method and complete a general remote-pairing process without removing the opener housing or changing the door’s mechanical settings.
Updated July 2026. Always use the instructions for the exact opener and control model when they differ from this general guide.
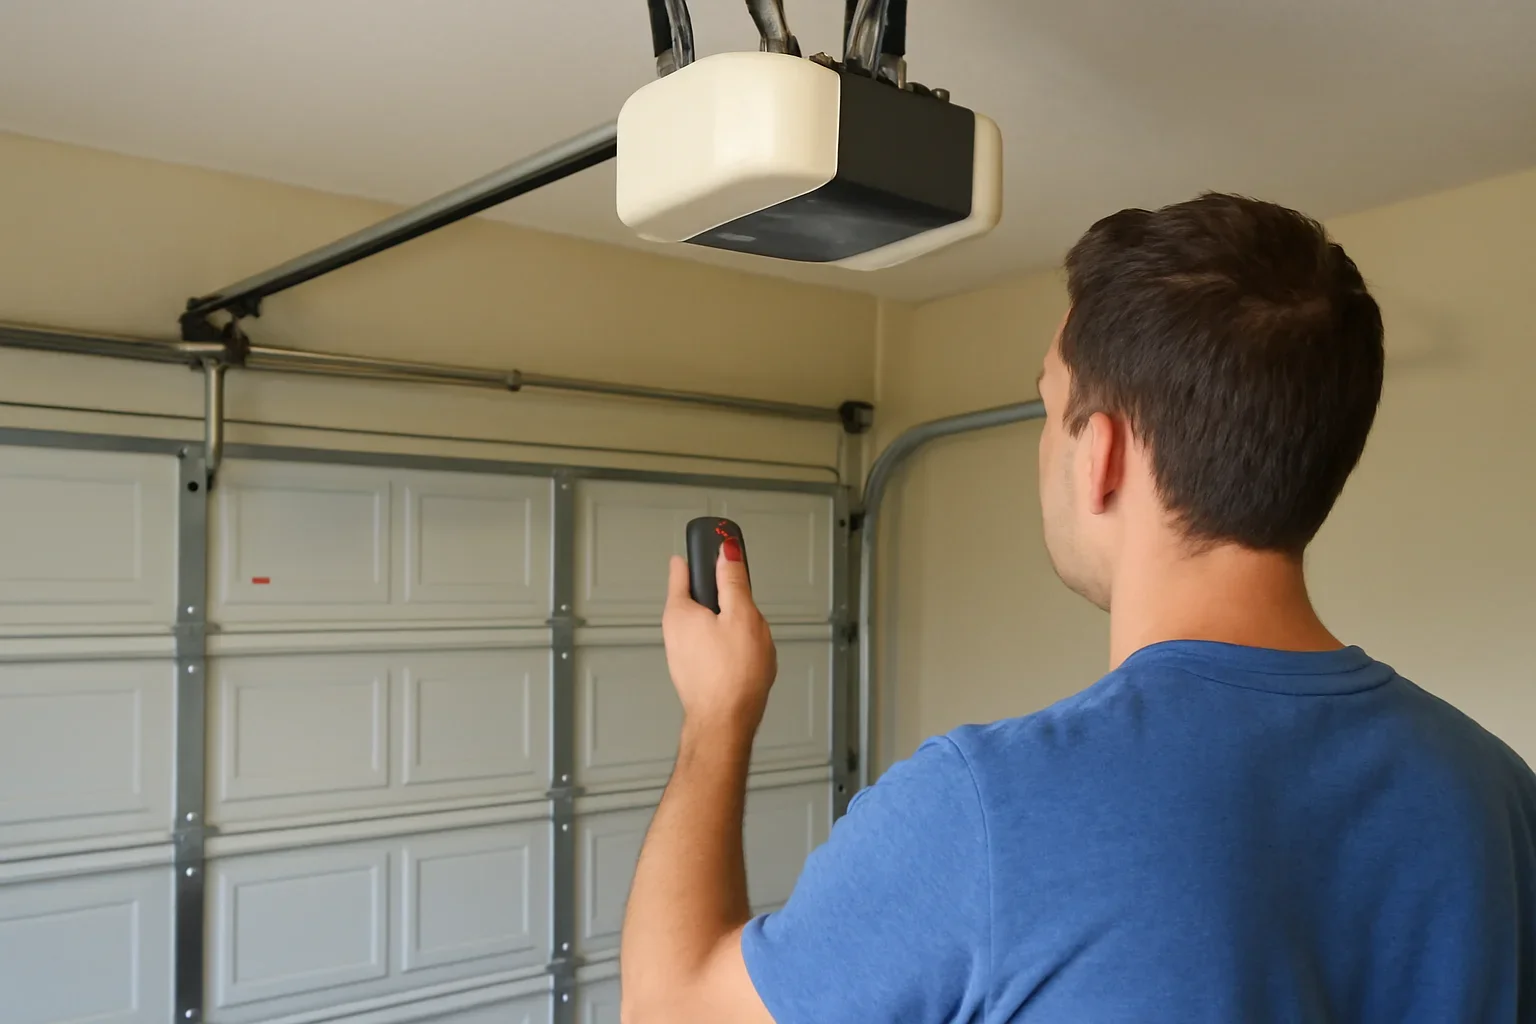
A quick press normally activates programming mode on many openers. Holding the button too long can erase stored remotes on some systems.
Confirm that the remote is compatible, install a working battery and locate the opener’s Learn or Program button. Press and release that button, then press the selected remote button within the opener’s programming window. A light flash, click or door movement may confirm pairing. Test the remote from a clear, safe position.
Programming is easier when the correct device, model information and testing conditions are confirmed before the Learn button is pressed.
Record the manufacturer, full model number and approximate age from the exterior product label.
Find the remote, keypad or vehicle-control model. Similar-looking controls may use different programming systems.
Compare the control instructions with the opener model, frequency, code generation or Learn-button colour.
Clear the opening, disengage any manual door lock and keep the remote close to the opener during setup.
These steps describe the common Learn-button method used by many residential openers. Follow the product manual when its sequence is different.
The door or opener lights may activate during setup. Keep people, pets, vehicles and stored items away from the opening and moving parts.
Replace a weak battery before programming. Confirm that the remote indicator responds when its button is pressed.
Look on the exterior of the opener near the antenna, light cover or control area. Selected systems place the programming button on the wall control instead.
Use a quick press unless the exact manual states otherwise. A nearby indicator may turn on to show that programming mode is active.
Within the model’s programming window, press the button that will operate this door. Some controls require one press, a held press or several presses.
The opener may click, flash its lights, change an indicator or briefly activate. Confirmation behaviour varies between systems.
Move away from the opening and press the programmed button once. Confirm controlled opening, closing and normal safety response.
The term “program the opener” can describe several different tasks. Start with the device you are actually trying to connect.
Confirm remote compatibility, battery condition and the opener’s programming generation before using the Learn button.
Keypads may require a model-specific button sequence, temporary code or Enter-button confirmation.
Vehicle systems may require the original handheld remote, a Learn button step or a compatibility accessory.
App setup may involve Bluetooth, Wi-Fi, account access and a separate pairing process rather than traditional remote programming.
Brand name alone is usually not enough. Manufacturers may use different frequencies, security generations and programming methods across their product lines.
The Learn-button colour can help identify compatibility on selected systems, but the complete opener and control model numbers provide a more dependable match.
A failed attempt does not always mean that the opener receiver is damaged. Check compatibility, timing and device condition first.
The wrong button may have been used, programming mode may have expired or the opener may not have entered Learn mode.
Confirm the opener manual and repeat the sequence once.A depleted battery, damaged battery contact or failed remote can prevent a clear programming signal.
Install the specified battery and inspect the remote model.Similar-looking controls may use a different frequency, code system or Learn-button compatibility.
Compare both complete model numbers before trying again.Programming windows are brief. Distance from the opener or time spent moving between controls can cause the attempt to expire.
Prepare the remote before activating Learn mode.The Learn button may have been held too long, the device memory may be full or the control may be incompatible.
Stop repeating resets and identify the exact opener model.Programming can connect a control, but it does not correct sensor, travel, balance, track, spring or opener-drive problems.
The complete opener and moving door should be assessed.A full memory reset may remove every remote, keypad and connected control. It should be used intentionally, such as after a lost remote or property-access change, and followed by reprogramming only authorized devices.
Garage controls can provide access to the home. Review stored devices and user access when a remote is lost, a tenant changes or a household member no longer requires entry.
Langley properties range from newer townhouse garages to established detached homes, rental properties, workshops and rural outbuildings.
The number of users, opener age, garage location and access rules can change the most practical programming approach.
Multiple drivers, shared lanes and strata rules can make keypad access, remote inventory and clear unit information important. Confirm authorization before changing shared or property-managed controls.
Established homes may use a mix of original and replacement remotes. The opener model and Learn-button generation should be identified before purchasing another control.
Older openers may use discontinued remotes, DIP switches or earlier wireless systems. A universal remote is not automatically compatible with every older unit.
Custom garages may use wall-mounted openers, multiple doors or separate gate and garage controls. Each device should be programmed to the intended button.
Detached garages and workshops may have several bays, longer approach distances or limited Wi-Fi. Handheld remote range and app connectivity should be considered separately.
A new tenant, homeowner or property manager may need old controls removed from memory before authorized remotes, keypads and app users are added.
Request diagnosis when compatible controls repeatedly fail, the opener receiver is unreliable or the garage door does not operate correctly after pairing.
Model identification, control compatibility, batteries, lock mode, receiver response and stored-device memory may need review.
Review opener diagnosisCompare repair and replacement when compatible remotes, keypads or connected-access features are unavailable for the current opener.
Request an opener estimateA spring, cable, track, roller or balance problem should be assessed before programming or opener settings receive further attention.
Review garage door repairA control can be programmed correctly while a separate sensor, opener or moving-door problem prevents normal operation.
These answers cover Learn buttons, compatibility, remotes, keypads, vehicle controls, resets and recurring pairing problems.
It is commonly located on the exterior of the opener near the antenna, light cover or programming controls. Some models use a Learn button on the wall control. Do not remove the motor housing to find it.
Many openers use a quick press and release to enter programming mode. Holding the button may erase stored controls on some systems. Follow the exact model instructions before holding it.
Possible causes include an incompatible remote, weak battery, expired programming window, wrong Learn-button method, full device memory or a receiver problem.
No. Universal remotes support a range of brands and wireless systems, but not every opener. Confirm the remote’s compatibility with the opener model or Learn-button generation.
Adding a compatible remote normally should not erase existing controls when the correct programming method is used. Holding the Learn button or completing a full reset may clear stored devices.
Keypads often use the same Learn mode but require a separate keypad-specific sequence, PIN entry and confirmation button. Use the keypad model instructions.
Follow the vehicle manual first. Depending on the vehicle and opener, setup may require an original remote, a Learn-button step or a compatible bridge or repeater.
Consider removing stored controls from the opener memory, then program only the remotes, keypads and vehicle controls that should retain access.
The remote may pair, but the opener should not be tested when the door is crooked, off track, unusually heavy or mechanically unstable. Repair the moving door first.
A weak battery, damaged remote, antenna issue, radio interference or opener receiver problem may reduce range even when programming was successful.
Include the Langley location, opener manufacturer and model, remote or keypad model, Learn-button colour, controls that still work and what happened during the programming attempt.
Share the opener manufacturer and model, control type, Learn-button colour, battery condition and what happened during setup. These details help determine whether the issue involves programming, compatibility, device memory or the opener receiver.