Factory handheld remote
A remote designed for the opener brand or technology. Confirm the model or compatibility list before pairing.
Usually the simplest path
Garage door remotes are programmed to the opener’s receiver—not to the door itself. Successful pairing depends on the opener brand, model, Learn or Program button, radio technology and whether the remote is genuinely compatible.
Before pressing buttons, confirm that the wired wall control operates the door normally. If the door is heavy, crooked, jammed or off-track, programming a remote will not fix the mechanical problem and may cause the opener to cycle an unsafe door.
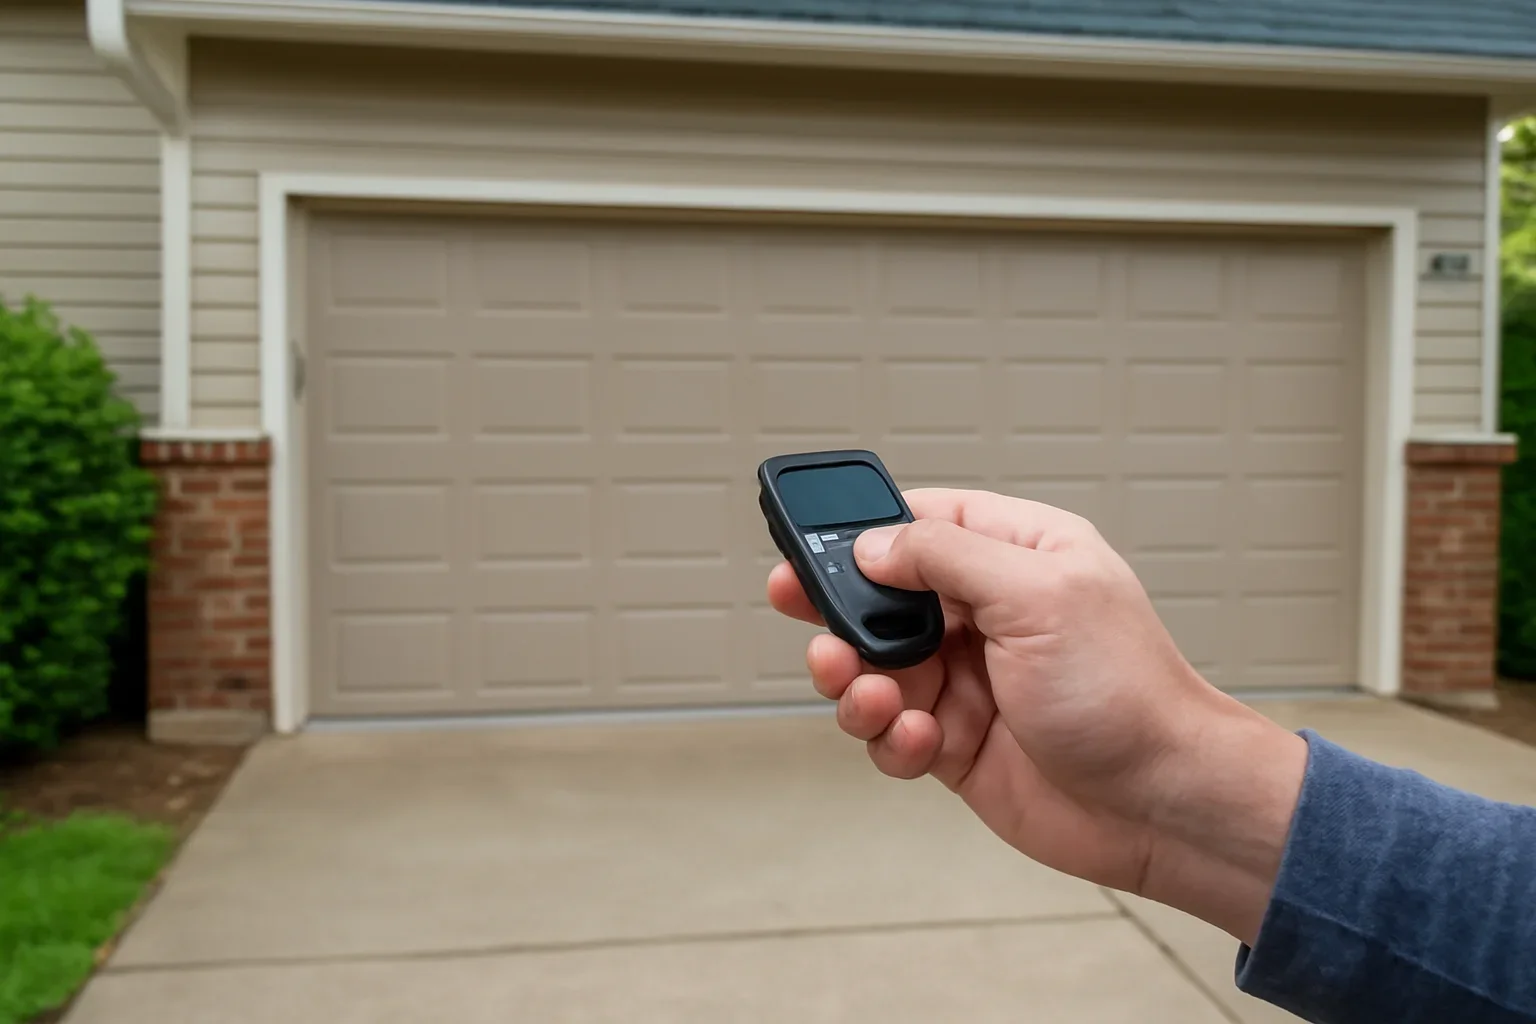
The pairing process changes by remote type. A factory remote, universal remote and vehicle control should not be programmed with the same assumed sequence.
A remote designed for the opener brand or technology. Confirm the model or compatibility list before pairing.
Usually the simplest pathA universal control may need its brand or frequency mode selected before the normal Learn-button pairing step.
Model-specific setupBuilt-in vehicle controls can require an in-vehicle training step followed by a rolling-code step at the opener.
Vehicle and opener instructionsmyQ and other smart controls use account, device and network setup. They are not programmed like a handheld radio remote.
Smart-access pathSimilar-looking remotes can use different radio systems. The opener label and Learn-button information provide a better starting point than the brand name alone.
Clear the opening before entering pairing mode. Keep the remote in hand and avoid reaching around moving door hardware.
These are safe planning sequences, not universal button instructions. Exact timing and button presses vary by opener and remote model.
On many openers, a short press starts pairing while a longer hold clears programmed remotes and keypads. Confirm the model instructions before pressing and holding any memory button.
| Control type | How it connects | Main information needed | Security action if lost |
|---|---|---|---|
| Handheld remote | Radio signal stored in the opener receiver | Remote model, opener model and Learn-button technology | Erase the lost credential or clear opener memory when individual deletion is unavailable |
| Wireless keypad | Radio signal plus a user-entered PIN | Keypad model, opener model and current programming state | Change the PIN or clear and reprogram access when needed |
| myQ or smart app | Account, internet connection and compatible hardware | Device model, app account, network and user permissions | Remove the user or device and secure the account |
| HomeLink or vehicle control | Vehicle transmitter paired to the opener | Vehicle year, built-in system and opener technology | Clear the vehicle button and review opener memory if vehicle access is lost |
Use the wall control and existing devices to narrow the fault before buying another remote or erasing the opener memory.
Check the new remote battery, model compatibility, selected button, programming sequence and whether the remote is already assigned to another mode.
Review remote troubleshootingThe receiver, antenna, logic board, lock mode, accessory capacity or opener electronics may need diagnosis.
Review opener repairProgramming succeeded if the opener responds. A heavy, crooked, binding or off-track door needs mechanical assessment instead.
Review garage door repair
Langley includes newer multi-unit housing, attached family garages, established detached homes and rural acreage properties. A household may need one shared remote, several driver-specific remotes, vehicle controls, a keypad or app access depending on the parking and entry layout.
Willoughby and Willowbrook townhomes may have rear-lane garages, strata access rules and several household users. Walnut Grove and Murrayville homes may combine older openers with newer remotes. Detached garages and workshops toward Aldergrove or rural Langley can involve metal buildings, gates, longer walking distances and the need for an alternate entry plan.
For shared households and rentals: keep a simple list of active remotes, keypads, vehicle controls and app users. Remove or erase access when a remote is not returned.
For detached buildings: confirm there is another safe entry route before clearing every programmed control. A full memory reset can temporarily remove all remote access.
Remote programming cannot correct sensor, closing, opening or mechanical-door problems. Use the next page that matches what the opener and door are doing.
Use this guide when the opener responds but the door remains closed or moves only partway.
Review opening problemsUse this guide when the door reverses, remains open or requires constant wall-control pressure.
Review closing problemsReview sensor alignment and visible wiring when the door starts down and immediately reverses.
Review garage door sensorsUse this page when the project involves app control, connected access or other compatible smart systems.
Review garage integrationsCompare opener types and current control features when the existing receiver is obsolete or incompatible.
Compare garage door openersReview replacement when logic-board, receiver or accessory compatibility problems keep returning.
Review opener replacementScope may involve one remote, several controls, receiver diagnosis, a smart accessory or a new opener.
Review garage door pricingSend the opener model, remote model, Learn-button colour and which existing controls still work.
Contact the service teamThese answers focus on compatibility, Learn buttons, universal remotes, lost controls, vehicle systems and failed pairing.
Confirm the remote is compatible, clear the doorway, locate the opener’s Learn or Program button, enter pairing mode using the opener instructions, press the selected remote button within the allowed window and test the result from a clear position.
It is commonly located on the motor head near the hanging antenna wire and may be beneath a light cover. The button can be yellow, purple, red or orange, or green depending on the opener generation.
No. The remote must support the opener’s brand or radio technology. Model number, opener age and Learn-button information should be checked before purchasing or pairing.
Common causes include an incompatible remote, weak battery, incorrect sequence, expired pairing window, lock mode, full accessory memory, antenna or receiver trouble, or a failed opener logic board.
Normally, adding one compatible remote does not erase the others. Holding the opener’s memory button can erase all controls on many models, so follow the exact instructions and avoid a long hold unless a full reset is intended.
Review the opener’s security options promptly. If the missing remote cannot be deleted individually, clear the opener memory and program only the approved remotes, keypads, smart hubs and vehicle controls again.
Often, yes, when the vehicle system and opener are compatible. Vehicle controls commonly require an in-vehicle training step followed by a rolling-code confirmation at the opener. Use the vehicle and opener instructions for the exact models.
Share the Langley neighbourhood, opener brand and model, remote model, Learn-button colour, approximate opener age, whether the wall control works and which remotes, keypads, app controls or vehicle buttons still respond.
Include your Langley location, opener model, remote model, Learn-button colour, approximate age, number of doors and which existing controls still work. This helps separate compatibility from receiver or opener failure.